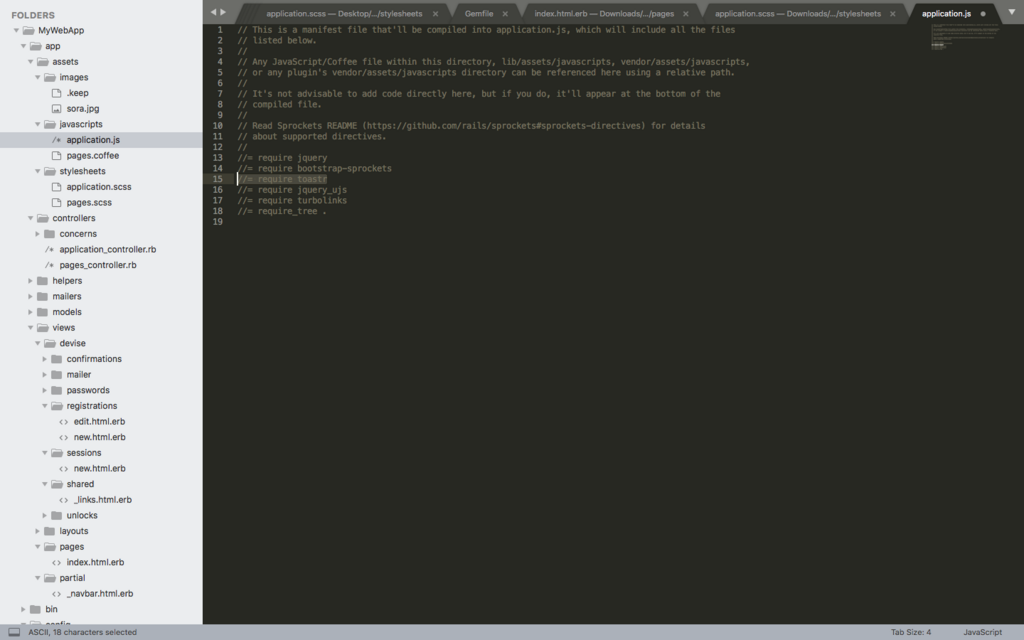
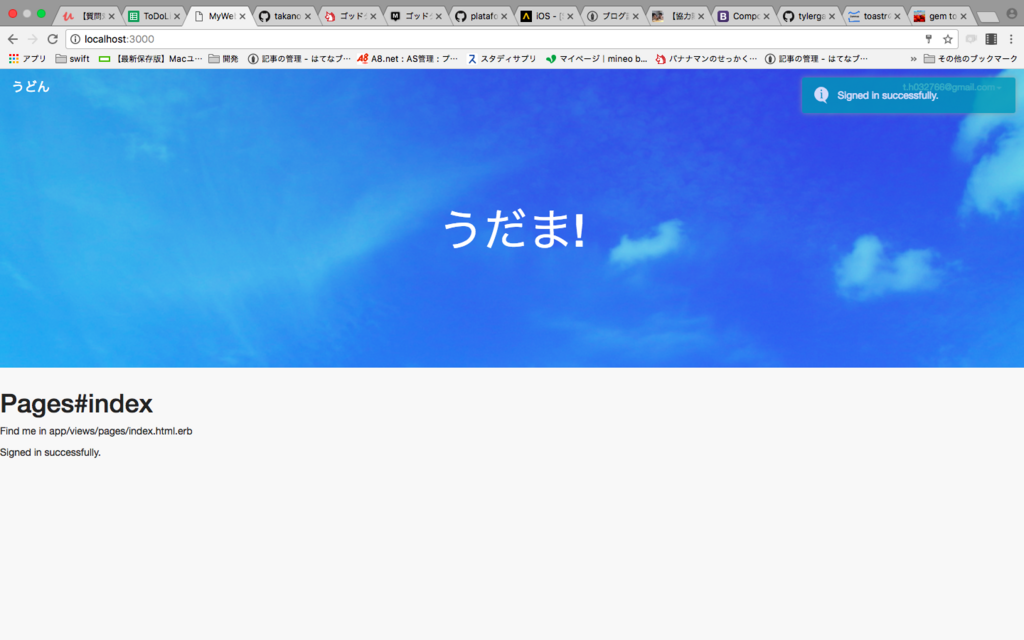
【Ruby on Rails5】toastrを導入し、かっこいいログインメッセージを表示する
【bootstrap】deviceを導入して認証機能をつける②:ログインしている場合にnavbarを変える【Ruby】
前回の記事
takanori5.hatenablog.com
今回はログインした後にnavbarの表示を変える方法をやっていきます。
https://github.com/plataformatec/devise

user_signed_inというのを利用すると良いと書いていますね。
      <div class="collapse navbar-collapse" id="bs-example-navbar-collapse-1">
        <ul class="nav navbar-nav navbar-right">
          <% if  (!user_signed_in?) %>
          <!-- ログインしていない時 -->
          <li><a href="#">●●になる</a></li>
          <li><a href="#">利用の流れ</a></li>
          <li><%= link_to "アカウント作成", new_user_registration_path %></li>
          <li><%= link_to "ログイン",  new_user_session_path %></li>
          <% else %>
          <li><%= link_to "ログアウト",  destroy_user_session_path,method: :delete %></li>
          <% end -%>
        </ul>
      </div>
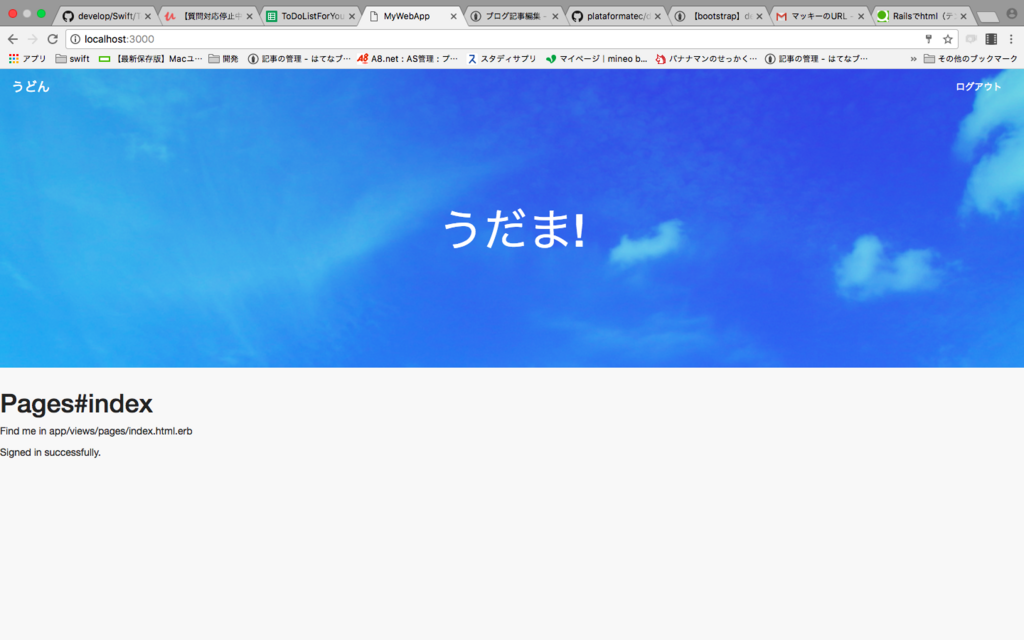
このようにテンプレートに直接if文を書くだけでOK.
ログイン前

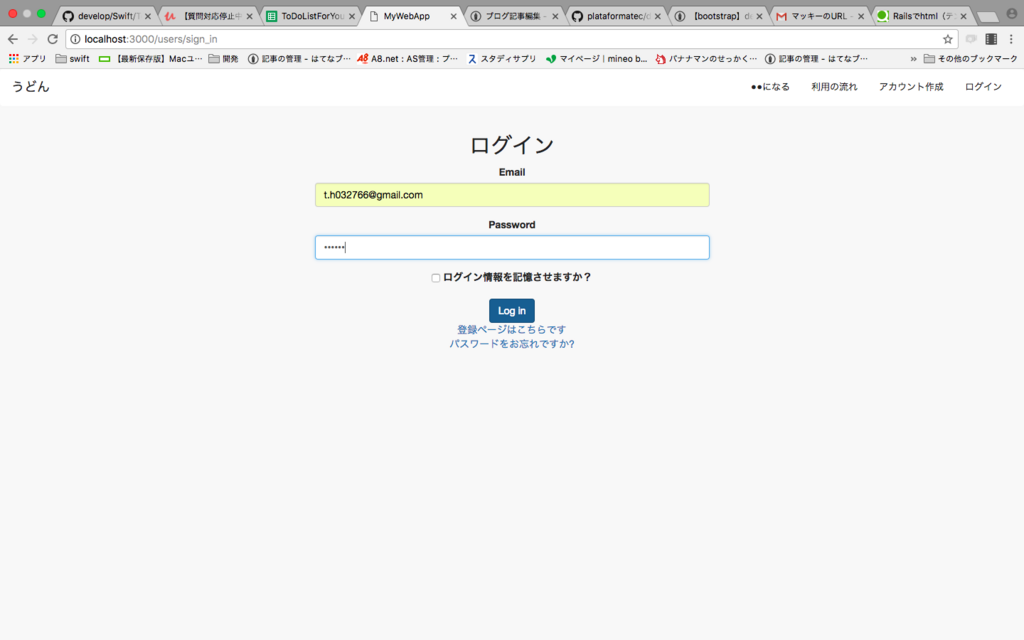
ログイン
ログイン後
commit
github.com
【Swift】facebookとtwitterにシェアする方法
facebookとtwitterにアプリからシェアする機能を実装する方法をまとめます。
まずはframeworkをimportします。
linked frameworks and librariesで+ボタンをクリック

social.frameworkをadd
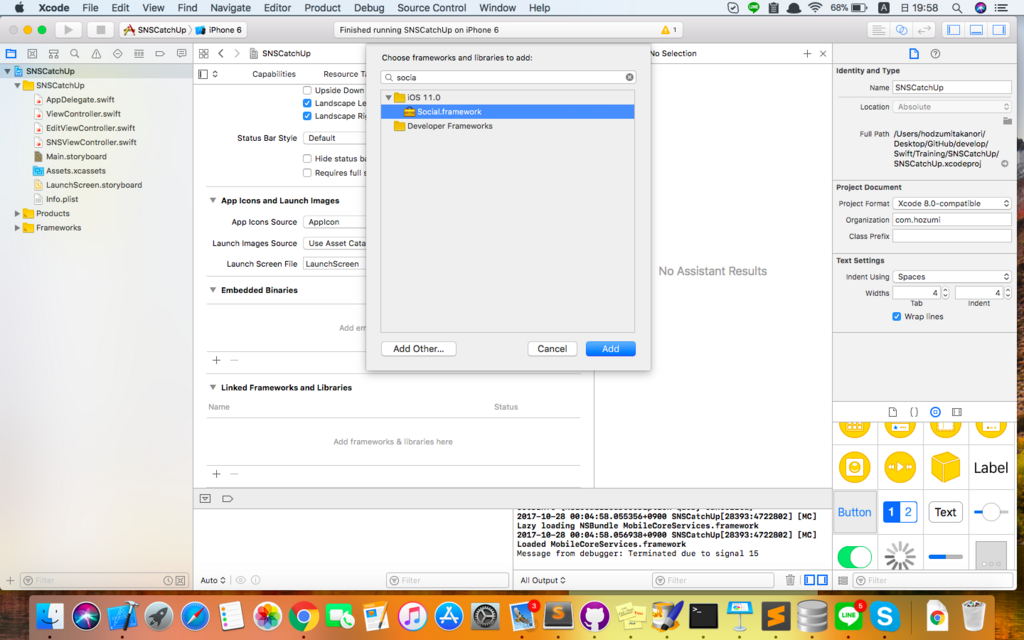
contorollerにimportする
import Social

//filedを定義
var composeController:SLComposeViewController!
SLComposeViewController は「Social Framework」のクラス。
SNSへの投稿を作成するための画面を提供します。
コードを 2 行書くだけで SNS へ投稿する機能を提供できます。
便利ですね。
では実際に定義したcomposeControllerを利用して投稿する機能を実装します。
ここでは投稿用のメソッドpostTwitterというのを定義しています。
    //twitterに投稿
    func postTwitter(){
        //インスタンス化
        composeController = SLComposeViewController(forServiceType: SLServiceTypeTwitter)
        //投稿したいテキストを指定
        composeController.setInitialText(textView.text)
        //投稿する画像を指定
        composeController.add(endImageView.image)
        // SLComposeViewController を表示する(投稿画面が立ち上がる)
        self.present(composeController, animated: true, completion: nil)
    }
上記の流れで実装完了です。
facebookに投稿したい場合は、インスタンス化する際のservieTypeをSLServiceTypeFacebookに変更すればOKです。
あとは画面のボタンタップ時などに読んで使いましょう。
」
【jQuery】 classの追加・削除をやってみる
htmlで共通して利用しているクラスを追加、削除することで適用されるスタイルを変更したい場合に利用すると便利な方法。
addClass()
$("要素名").addClass("class名")removeClass()
$("要素名").removeClass("class名")
【bootstrap】formsを使ってみる【Ruby】
前回の記事
takanori5.hatenablog.com
前回作成した登録ページをbootstrapのformsを使って綺麗にしてみます。
        <div class="field">
          <%= f.label :email %><br />
          <%= f.email_field :email, autofocus: true %>
        </div>
以下のように修正
classをform-groupに、さらにfieldにクラスを追加。(class => 'form-control'を追加)
        <div class="form-group">
          <%= f.label :email %><br />
          <%= f.email_field :email,:class =>'form-control', autofocus: true %>
        </div>
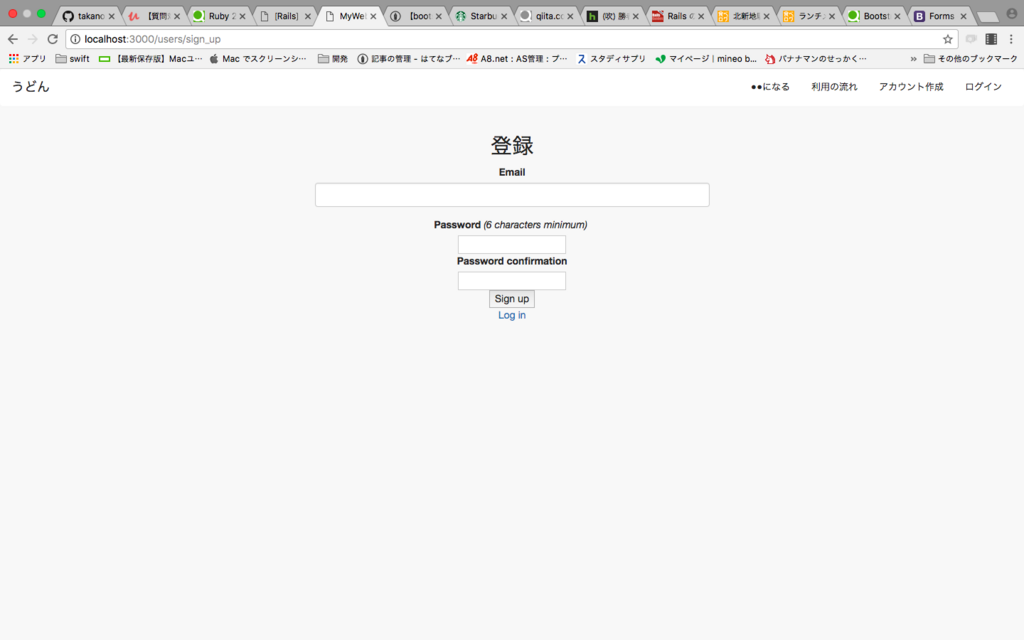
e-mailフィールドが変化しました。
【Ruby on rails5】deviceを導入して認証機能をつける【Ruby】
deviceは
認証系アプリに必要な機能を簡単に追加できる便利なgemです。
まずはdeviceのgemを以下のページを元に導入。
github.com
Gemfileに追記
gem 'devise'
bundle installでインストール
すると以下のような文言がターミナルに表示されるので一個ずつ設定していきます。

===============================================================================

Some setup you must do manually if you haven't yet:

  1. Ensure you have defined default url options in your environments files. Here
     is an example of default_url_options appropriate for a development environment
     in config/environments/development.rb:

       config.action_mailer.default_url_options = { host: 'localhost', port: 3000 }

     In production, :host should be set to the actual host of your application.

  2. Ensure you have defined root_url to *something* in your config/routes.rb.
     For example:

       root to: "home#index"

  3. Ensure you have flash messages in app/views/layouts/application.html.erb.
     For example:

       <p class="notice"><%= notice %></p>
       <p class="alert"><%= alert %></p>

  4. If you are deploying on Heroku with Rails 3.2 only, you may want to set:

       config.assets.initialize_on_precompile = false

     On config/application.rb forcing your application to not access the DB
     or load models when precompiling your assets.

  5. You can copy Devise views (for customization) to your app by running:

       rails g devise:views

===============================================================================
1. config/environments/development.rbにデフォルトURLの指定
  # mailer setting
  config.action_mailer.default_url_options = { host: 'localhost', port: 3000 }
productionも同様に追記しましょう。
(本番環境用なのであとで実際のhostに変えましょう)
2. config/routes.rb.にroot_urlの指定
root :to => 'pages#index'
ここまできたら一度サーバーを起動してみます。
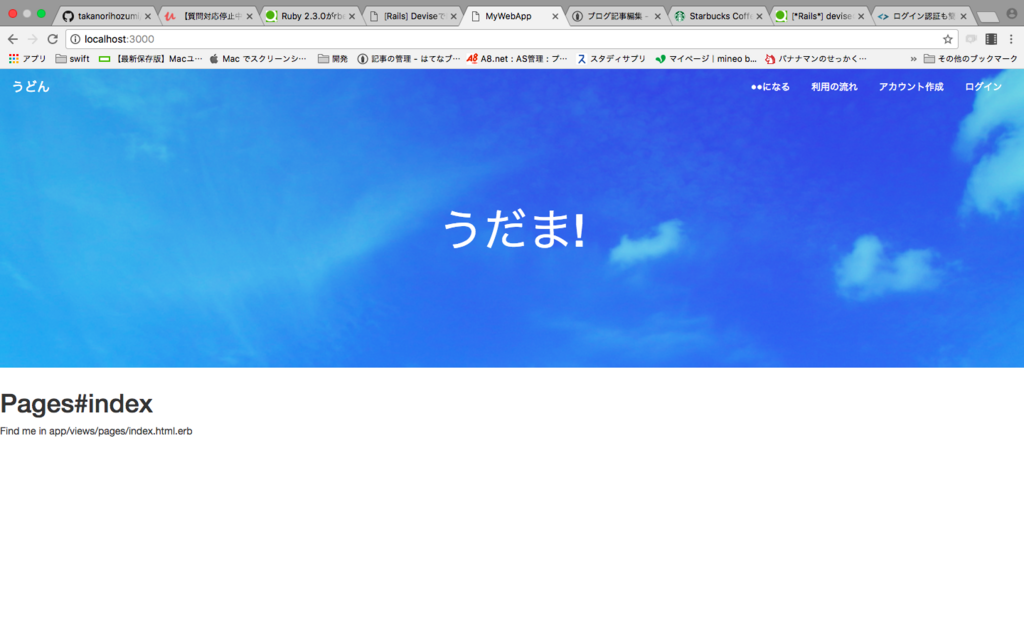
http://localhost:3000/pages/indexでアクセスしていたurlが
ルートを指定したため
以下のurlでアクセス可能になりました。
http://localhost:3000/
3. app/views/layouts/application.html.erb.を編集してflashメッセージの設定<%= yield %>の下に追記します。
<!DOCTYPE html>
<html>
<head>
  <title>MyWebApp</title>
  <%= stylesheet_link_tag    'application', media: 'all', 'data-turbolinks-track' => true %>
  <%= javascript_include_tag 'application', 'data-turbolinks-track' => true %>
  <%= csrf_meta_tags %>
</head>
<body>

<%= yield %>
<p class="notice"><%= notice %></p>
<p class="alert"><%= alert %></p>
</body>
</html>
4. Rails3.2用の設定
ここは対象verでなければ無視!
5. DeviseのViewを作成
ターミナルに指定されたコマンドを貼り付けて実行する
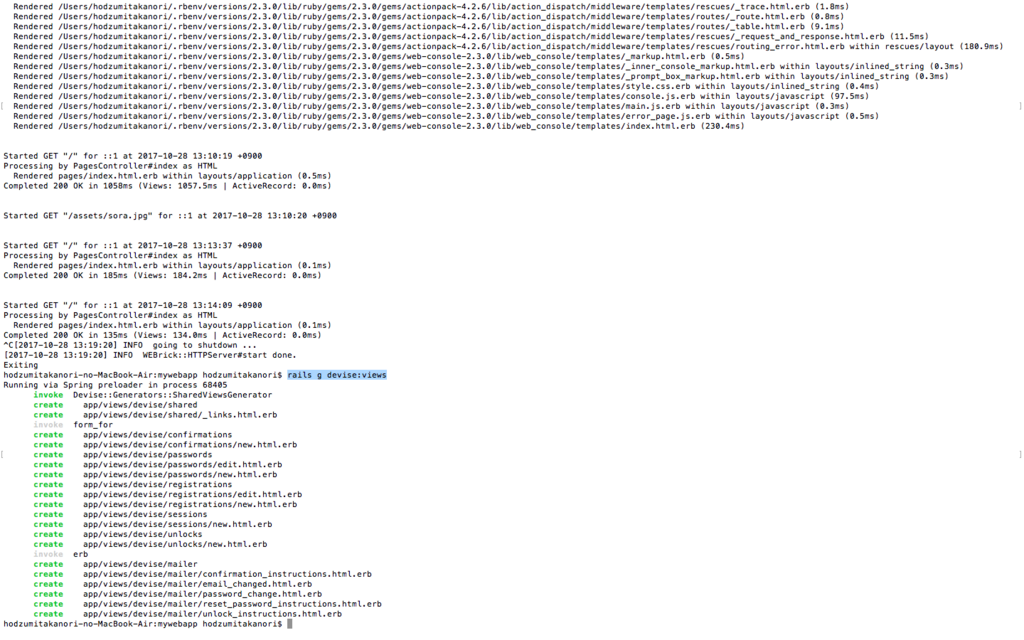
これで完了です。
続いて、、、
Userモデルの設定
rails generate devise User
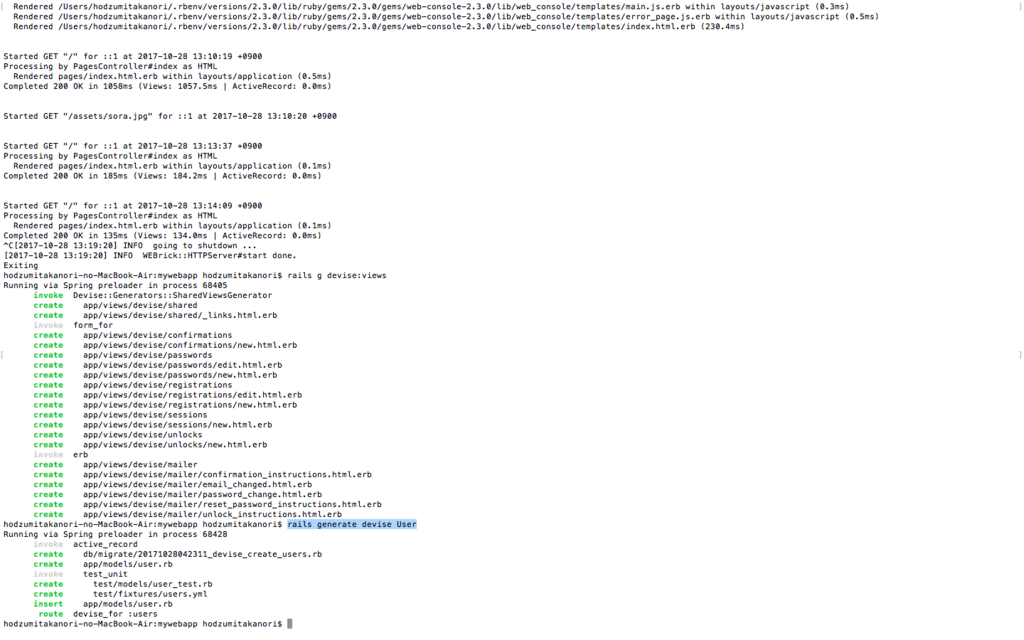
マイグレーションファイルが作成されました。
続いて以下のコマンド
rails db:migrate

このコマンドを実行すると、RubyがSQLに翻訳されて、データベースに自動接続します。そして、テーブル作成のSQLを自動実行し、正常に作成されたか否かの結果を表示します。
*一度実行対象になって正常に実行されたマイグレーションファイルは、実行対象から除外される
*実行していないのだけ対象になる
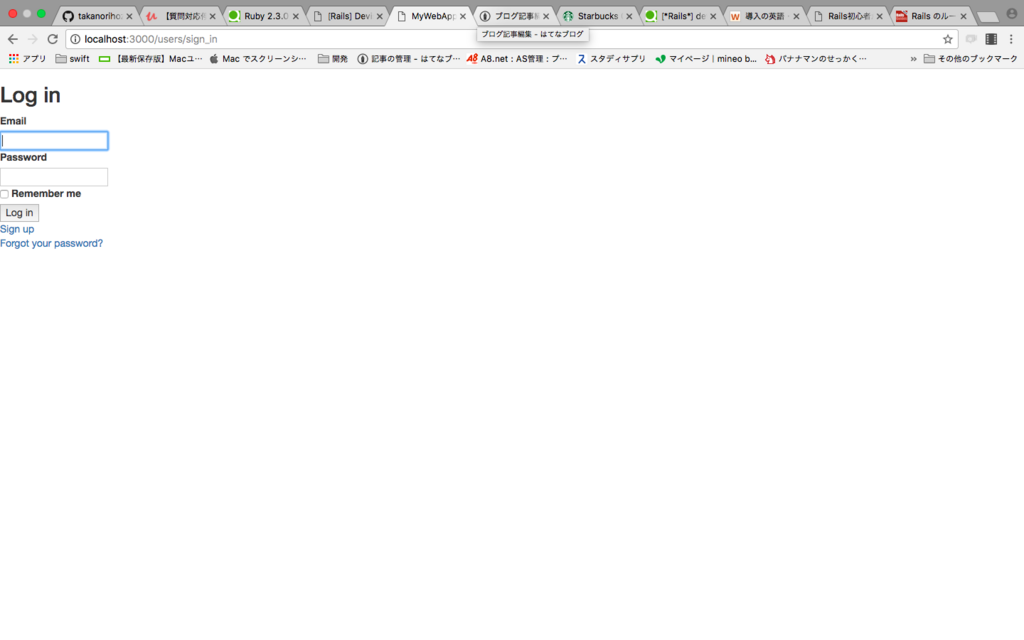
さて、サーバーを起動し、試しに生成されたurlにアクセスしてみると・・・
ログイン画面が表示されました!!
bootstrapのgrid systemを使ってみる
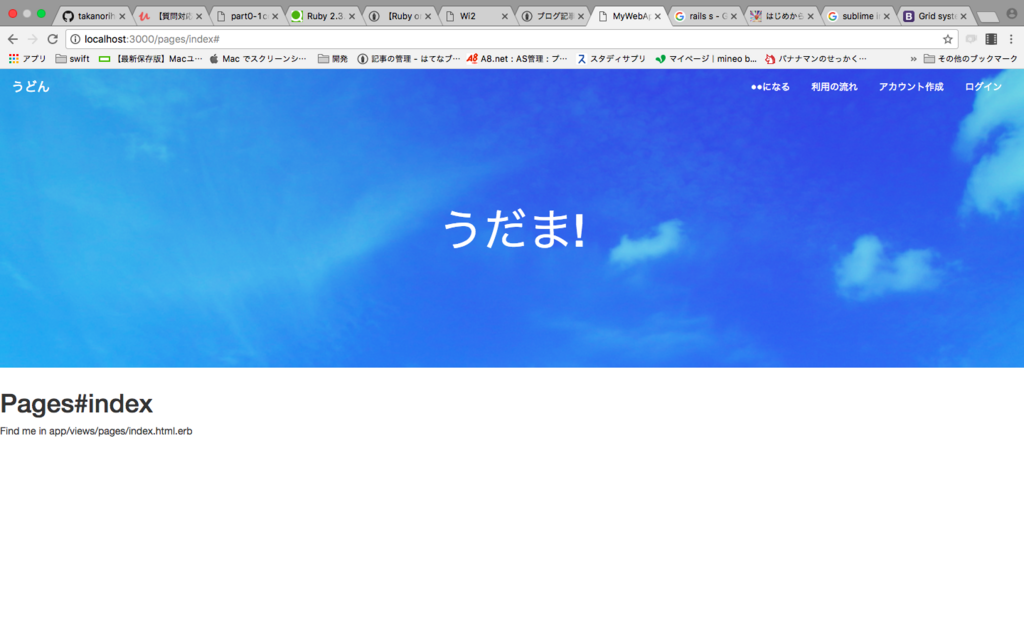
grid systemを使って、
大阪のうどんの名店「うだま」
の文字を以下のように中央に配置してみます。
以下のbootstrapのページにアクセス
Grid system · Bootstrap
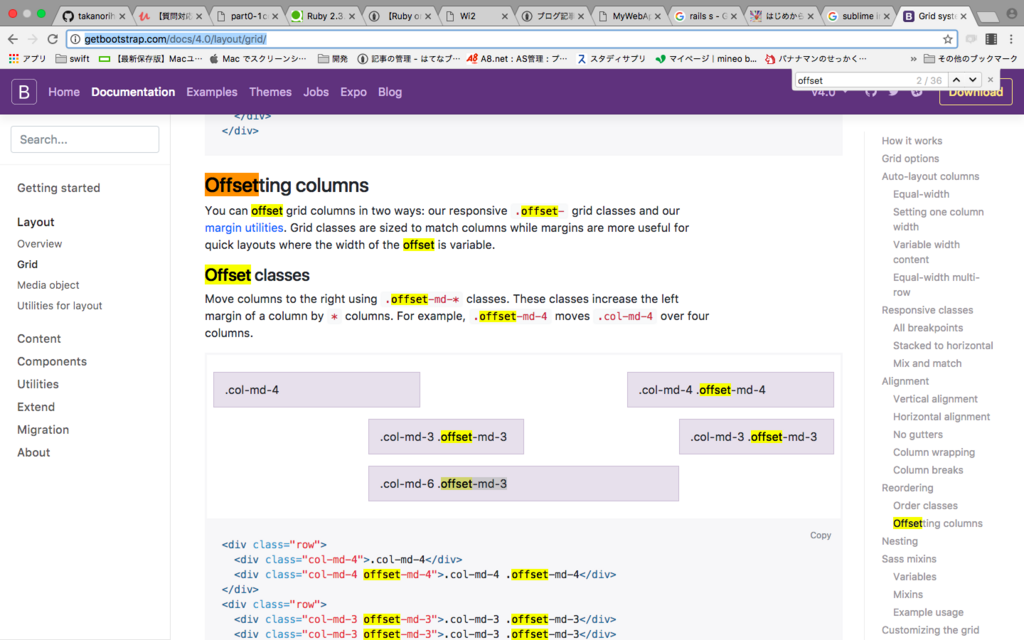
offsetting columnsに利用例が載っています。
中央揃えにしたかったら
col-md-6 col-md-offset-3
と指定すればいいみたいです。
以下のようにすればOK
   <div class="row">
   	//grid systemで中央揃えに!
     <div class="col-md-6 col-md-offset-3 text-center">
       <h1 class="display-3">うだま!</h1>
     </div>
   </div>


